After making the necessary cuts on the top bowl, I started work on the bottom bit. The unique part of the scope is that it is quite well-balanced and bottom heavy, such that the entire assemble past mid point of the ball (i.e. the top bowl, trusses, secondary, focuser, etc) will be balanced by the bottom. Usually, one uses a larger sphere to attain the necessary moment arm. However, since I am limited by the smallish bowl, I've had to improvise. I tested my Blanda for balance, and as expected, it's extremely difficult to get it down. I wanted to set the mirror as low as possible, but with an 11 inch bowl, 1 inch thickness, and the size of the mirror cell, I was very limited depth-wise.
What I've tried to do to help the balance along is to load the bottom of the bowl with gravel, held together with epoxy.
 Gravel in Bottom Half
 by
Cyrus Beh, on Flickr
Here's the amount of gravel I am able to get under the mirror. It came up to just under 4 pounds, I believe. I used some casting epoxy, mixed in small batches, to fill up the air gaps. After about 200mL of the epoxy, the resin started to pool, indicating that it was largely filled up. The epoxy heats up as the reaction proceeds. I should point out that although the epoxy works best when hot, it's not recommended to work with too much volume, since I've heard tales of it getting so hot as to smoke. I tilted the bowl at about 15 degrees, since the off-center focuser will cause a moment (as in rotation) about the optical axis. This was mostly guess work, limited by amount of space I have. An overnight cure (under the shower head, in case the bowl should catch fire!) was sufficient. The bowl did get pretty hot!
 Epoxy-encased gravel
 by
Cyrus Beh, on Flickr
This is after curing. You can see that some of the epoxy seeped out on the front end of the tilt, but overall the gravel was held in nicely. I don't have a scale that is suitable for the bowl, epoxy, and gravel, but it didn't seem like it was hefty enough.
 Flat black painted interior
 by
Cyrus Beh, on Flickr
This is after painting the interior of the scope. When I got to this point, I noticed that despite the surface prep, the black paint had a tendency to flake when scratched. That's not good!
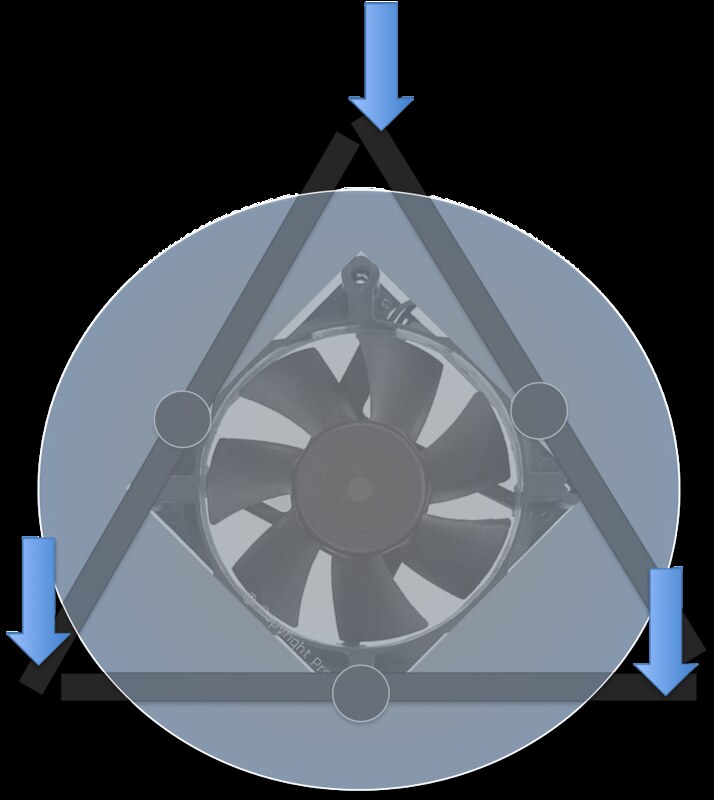
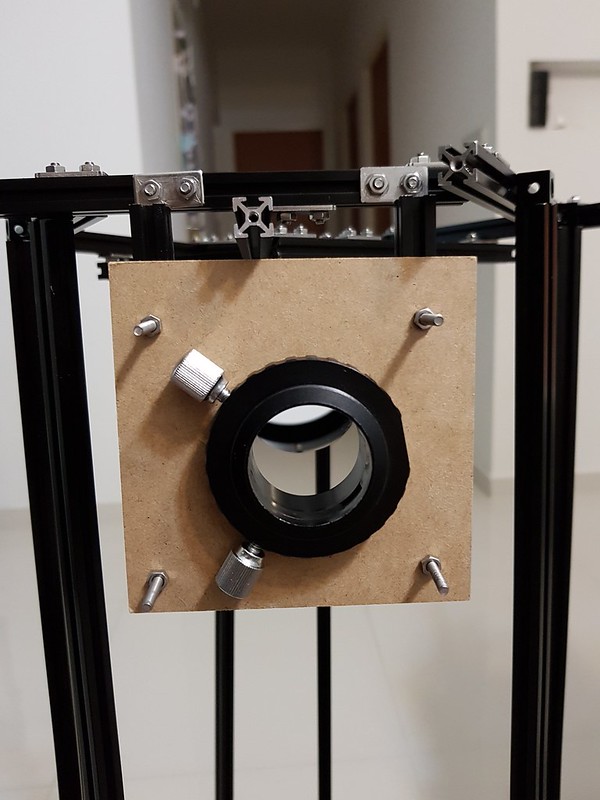
Anyway, for the collimation brackets, I used 3 Makerbeam 90 degree brackets. These were too long (two drilled holes on each arm) so I had to cut it down. I mounted the two-holed side onto the bowl, with the screw head outside, and recessed. I bent the bracket to slightly less than 90 degrees, so that when mounted on it will be horizontal. This prevents the collimation screws from catching the bracket.
 Mounting screws were recessed
 by
Cyrus Beh, on Flickr
The top and bottom halves are the fused together using Araldite two-part epoxy. Because of the slight filleting on the bowls, there was a groove that formed. This was filled with epoxy putty.
 Two bowls are joined together
 by
Cyrus Beh, on Flickr
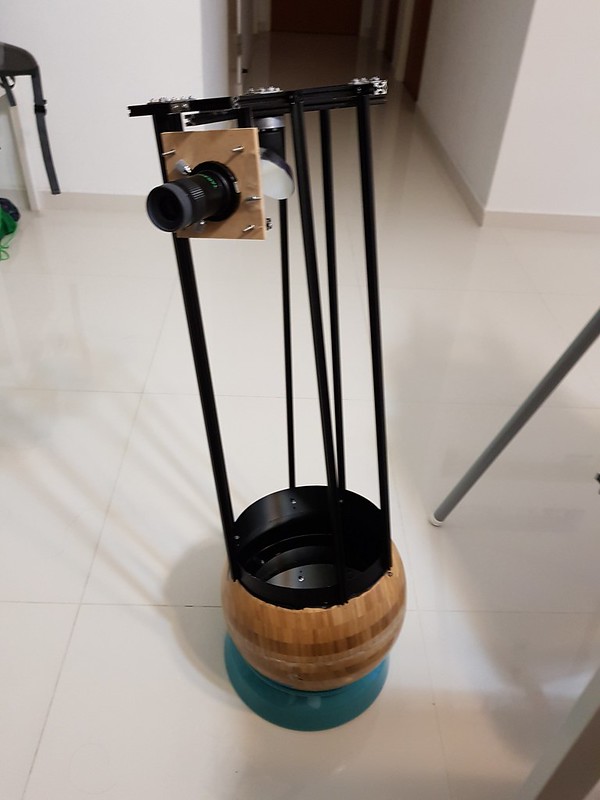
 Portabowl on tripod by Cyrus Beh, on Flickr


